The next Blender Open Movie – Project Gold – is now officially announced. This project has a very strong artistic vision and is aiming at an extremely stylized look.

The style is so integral to the story that the artists and developers are exploring new workflows. The idea is to make VFX tools (e.g., simulations) part of the early stages of production such as layout.
The goal is to create purely artistic driven tools.
Andy Goralczyk, Art Director at Blender Studio
The Geometry Nodes team explored this idea during the open movie Sprite Fright. The conclusion was that a more high-level interface is needed in order to make node assets more accesible for artists. For example, if an artist creates a mushroom generator, this asset should also include tools to paint the mushrooms density, size, type, and so on.
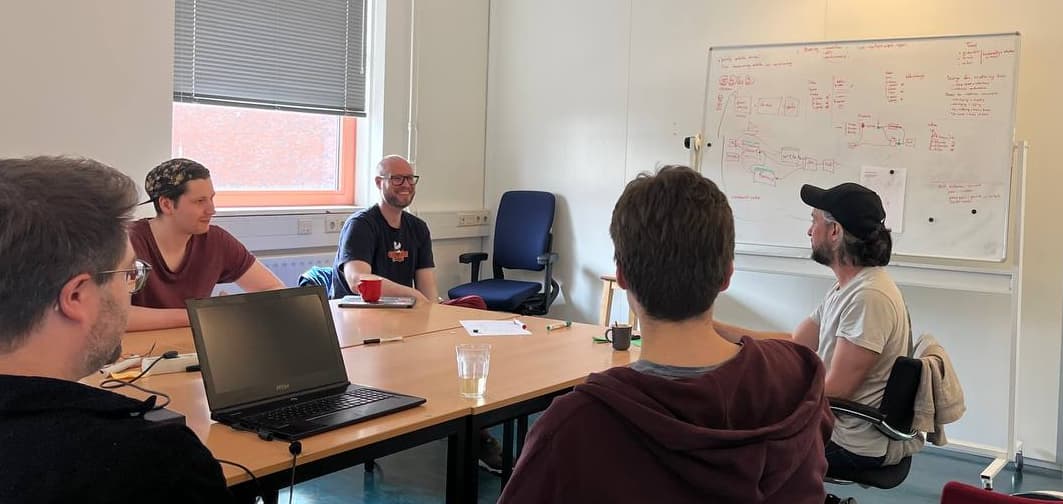
Currently, the only way to access these settings is via the Geometry Nodes modifier. This proved to be a good initial approach, but it’s quickly showing its shortcomes. To address that, a workshop was organized at the Blender HQ in Amsterdam during May with the presence of:
- Blender Studio: Andy Goralczyk, Simon Thommes
- Blender Institute: Dalai Felinto, Jacques Lucke, Lukas Tönne
The agenda covered production use cases, tools, gizmos, and checkpoints.
Use Case: Fracture Assets
The first use case is an asset that can be used to fracture a mesh over time. This asset has a node-tree with a few inputs (texture map, point cloud and curves) that can be edited by different tools. These tools are to be bundled together with the Geometry Nodes tree.
When the user drags the Fracture node-tree from the Asset Browser into an object:
- The object gets a modifier with the fracture Geometry Nodes tree.
- Three new tools are visible when the object is active.
The tools to edit this asset would be:

Realtime Interaction
This would allow for digital-puppetry or VJ-ing usecases. The ultimate workflow would be for Blender to act as a live-performance “instrument” for artists to play with. For that Blender needs to record user input in realtime.
These features can also fit in more traditional pipelines by layout and animation artists. It breaks down to:
- Record geometry (Grease Pencil or curves) over time (*).
- Auto-Keying as the go-to tool for this (nice to have: playback speed control).
- Auto-Keying UI properties.
- Extend support of input devices (VR controllers, MIDI controllers, …).
(*) – Although Grease Pencil already supports this in combination with the Build modifier, it is not hooked with auto-keying or scene playback.
Tools
Tools are the quintessential interface for interacting with a node-based asset. They permit the asset author to present high level concepts such as “scatter flowers” via a simple brush, hiding the complexity of correlating texture maps and attributes with the inner workings of the asset.
They are to be implemented as part of the modifier inputs; similar to how an input can have a subtype and a range, it can also have a default tool to tweak it.
Only built-in tools are accessible by the modifier inputs. Thus if an input type (vectors) requires a flow map subtype, we first need to have a built-in tool in Blender that supports this. In the future custom asset-specific tools would be supported once we have node-based tools.
The mapping between modifier input and tools can be done automatically in some cases (e.g., a texture map attribute will use the texture paint tool by default).
Context Setup Tool
The modifier input items get a new option to define a tool to be used to edit them. This is exposed as an edit button next to the property which sets the right context to edit this input:
- Active tool (and brush).
- Active object (when the attribute is in a different object). (*)
- Active mode.
- Active attribute.

As mentioned, the idea is to focus on having built-in tools in Blender that support editing attributes (e.g., flow map) and then allowing those tools to be hooked up with different modifier inputs. This gets us 80% there, and helps technical artists who are comfortable with the existing tools in Blender. It also brings the artist in the right context in case they need to access another tool for the same attribute.
In some cases we also want to provide an easy to discover tool that is available when the asset is active. That tool would require its own icon and be available in the Toolbar.
(*) – To get this working as elegantly as possible we would need to have multi-data objects implemented, so there would be no need to change the active object.
Example: Landscape Asset
A landscape asset that adds either water, trees, grass, or flowers to a terrain.
The modifier would have these properties exposed:
- Tree-type
- Water turbulance
- Wind strength
Additionally, a single texture map (or ID attribute) controls which asset type to instance. This map isn’t exposed as a modifier property, but instead as four separate tools:
- Built-in Tool: Attribute Paint (current Draw in Vertex Paint mode)
- Names: Paint Tree / Water / Grass / Flower
- IDs: 1 / 2 / 3 / 4

Gizmos
Gizmos also work as an interface to a Geometry Nodes tree. We explored a few design options until we landed on a new node type which would allow for the most flexibility: Gizmo nodes.
In essence, a gizmo node is a node that brings a potential new data-entry in the node-tree, while also passing the data through during evaluation.

In this Vase Asset example you can see that both the rotation and the arrow slider gizmos depend on the “Height” input.
The node gizmos should work similarly to the camera and light gizmos. They are always available when the object is active, but their visibility can be controlled in the Viewport Gizmos menu.
Checkpoints
Finally we talked about the latest proposal for checkpoints. This was discussed a bit during the workshop in October 2022 and revisited when Simulation Nodes became part of the baking pipeline (in the upcoming Blender 3.6 LTS).
A checkpoint is a point in the node-tree that may use baked data instead of live data to help with:
- Editing part of the node-tree in the viewport
- Sending simulations to a render farm
- Performance
- Re-timing
Overview
It would be ideal for the above scenarios to use the same solution under the hood and concept. Effectively a single node-tree may have all four scenarios combined:

In this example (of the fracture use-case) the tools inputs are generating curves internally. Those curves are then used for a “Sparkles” simulation (to generate particles) and to fracture the original mesh.
After using the fracture tools to create the initial fracture system, the checkpoints come into play:
- After the curves to tweak them. That means the tools will no longer create new fracture islands/cracks/impacts.
- To bake the sparkles simulation (so this can be sent to a renderfarm).
- To bake the final fractured geometry (for performance reasons).
- To re-time the baked result after all simulations are done.
In some cases the different steps of a simulation may be used by different objects. For example, one object can be used to generate ocean waves from curves, while another generates foam and water spray.
Concepts
To better understand a checkpoint we need to understand the concepts of input and passthrough node types.
Input Node
A node that brings new data into the node-tree. E.g., Object Info, Collection Info, and in the future an Importer node or an Editable Mesh node.

Passthrough Node
A node where the data just bypasses the node. E.g., any muted node, the Reroute, and in the future the Gizmo nodes (see above).
Checkpoints Node
A checkpoint is a combination of both node types. It can work either as an input or passthrough depending on whether or not the node is baked. In a way it works like a “quantum” node.

The baking options and controllers for both the simulation zone and the freeze node should be accessed in the same way. We will need operators to define whether to bake selected “checkpoints”, and bake objects in the scene-level.
The baked data is stored at the modifier level similar to how Simulation nodes work.
Next Steps
The ideas discussed in this workshop as well as those discussed last year are the foundation of the Geometry Nodes roadmap for Blender 4.0:
- Custom normals
- Legacy instancing replacement
- Node Operators
- UI / UX
- Serial Loop
- Realtime Mode
- Modifier Context Setup Tool
- Standalone Node Tool
- Checkpoints
The specific priorities and targets will shift around, in particular to leverage working closely with the Blender Studio open movie team and their timeline.
To get involved on these projects you are welcome to join the bi-weekly Nodes & Physics meetings and discussions on the forums.
Support Blender
Development requires dedicated design and development resources.
Donate monthly or one-time to help make this happen.


I think the checkpoint data should be (optionally) a separate cache file from the Scene Blender file for various reason, it should also be linkable and loadable so that it can be imported into another scene.
While I can see that Checkpoints will come into play for all node/simulation systems, in order to allow them to be ‘art directed’, tweaked and just for real-time playback.
It seems that in general hair/cloth simulation nodes or whatever the new system will be won’t be part of Blender 4.0 and likely isn’t needed for the Project Gold movie and hence possibly won’t be part of any Blender 4.x release for at least another 12-18 months?
It would be nice to know so on can plan accordingly.
Hi Anthony,
My main advice is to not plan for anything that is not already in a release version of Blender.
That said we do plan to have physics specific nodes soon. But it is too vague to be in the roadmap until we know better what would they be. One of them is probably something related to faster collision detection.
This looks amazing, congrats team.
:)
Gizmos for shader adjustments and texture placement/scale/rotation?
It will be great to allow other parts of Blender that also use nodes to leverage the “Geometry Nodes” development. But at the moment it is not the priority and left to the other modules of Blender to follow up on that.
Are the simulation nodes going to be hooked up with Mantaflow? Perhaps allowing for more control over foam etc?
Unfortunately it’s more likely that Mantaflow will be replaced eventually. To properly take advantage of node based simulation we need something that’s more flexible, and ideally more performant. But that would only happen when there’s a better option of course.
The modifiers input label of geometry nodes still can’t support translation…
Whole Blender UI interface, just only here.
Will the Geometry Nodes tools be exposed in the Toolbar (T) menu? And if yes, how will we be able to assign icons to them from Geometry Nodes
Yes they will have the option to be exposed in the toolbar menu. This is what I’m calling “Standalone Node Tool” in the post.
As for the icons, the simplest solution for now would be to have an image option for the group inputs you want to be accessed (only?) as a tool.
In order to prevent spam, comments are closed 7 days after the post is published. Feel free to continue the conversation on the forums.